Red5 Media Server is a powerful media streaming server. I am still probing the possibilities of using this server and RTMP in various applications. You can follow these steps to install it on your own server and test it out.
Step 1: Installing Java
You may skip this steps if you have already installed java on your system else use below link to install latest java version.
Step A: Download Archive File
Download java fromhttp://www.oracle.com/technetwork/java/javase/downloads/jdk7-downloads-1880260.html.
# cd /opt/ # wget http://download.oracle.com/otn-pub/java/jdk/7u25-b15/jdk-7u25-linux-i586.tar.gz?AuthParam=1372657186_d532b6d28fdb7f35ec7150a1d6df6778
Extract downloaded archive using following command.
# tar xzf jdk-7u25-linux-i586.tar.gz
Step B: Install JAVA using Alternatives
After extracting java archive file, we just need to setup to use newer version of java using alternatives. Use the following commands to do it.
# cd /opt/jdk1.7.0_25 # alternatives --install /usr/bin/java java /opt/jdk1.7.0_25/bin/java 2 # alternatives --config java There is 1 program that provides 'java'. Selection Command ----------------------------------------------- *+ 1 /opt/jdk1.7.0_25/bin/java Enter to keep the current selection[+], or type selection number: 1
Now you have successfully configured java in your system. Go to next step to check current installed version.
Step C: Check Version of JAVA .
Use following command to check which version of java is currently being used by system.
# java -version
java version "1.7.0_25" Java(TM) SE Runtime Environment (build 1.7.0_25-b15) Java HotSpot(TM) Client VM (build 23.25-b01, mixed mode)
Step D: Setup Environment Variables
Most of java based application’s uses environment variables to work. Use following commands to setup it.
- Setup JAVA_HOME Variable
# export JAVA_HOME=/opt/jdk1.7.0_25
# export JRE_HOME=/opt/jdk1.7.0_25/jre
# export PATH=$PATH:/opt/jdk1.7.0_25/bin:/opt/jdk1.7.0_25/jre/bin
Step 2: Install the Apache Ant Binary
Apache ant is a tool similar to make. It is implemented using the java language. It is used for automating software build processes and is best suited to building Java projects. Download the latest apache ant archive and install it.
# cd /opt/ # wget http://archive.apache.org/dist/ant/binaries/apache-ant-1.9.0-bin.tar.gz # tar xzf apache-ant-1.9.0-bin.tar.gz # mv apache-ant-1.9.0 /usr/local/apache-ant
Step 3: Setup Environment Variables
Its necessory to set environment variables to make it working.
# echo 'export ANT_HOME=/usr/local/apache-ant' >> /etc/bashrc # echo 'export JAVA_HOME=/opt/jdk1.7.0_25' >> /etc/bashrc # echo 'export PATH=$PATH:/usr/local/apache-ant/bin' >> /etc/bashrc # echo 'export CLASSPATH=.:$JAVA_HOME/lib/classes.zip' >> /etc/bashrc # source /etc/bashrc
Step 4: Checkout Red5 using Subversion
Red5 source code is available under subversion repository also. So its easier to download code using subversion.
# cd /usr/local/ # svn co http://red5.googlecode.com/svn/java/server/tags/1_0/ red5
Step 5: Build Red5 using Ant
After finishing downloading code, lets build Red5 using ant libraries using following commands.
# cd /usr/local/red5 # ant prepare # ant dist
Step 6: Start Red5 Media Server
Red5 media server uses 5080 tcp port for provide web interface.
# cd /usr/local/red5/dist # ./red5.sh &
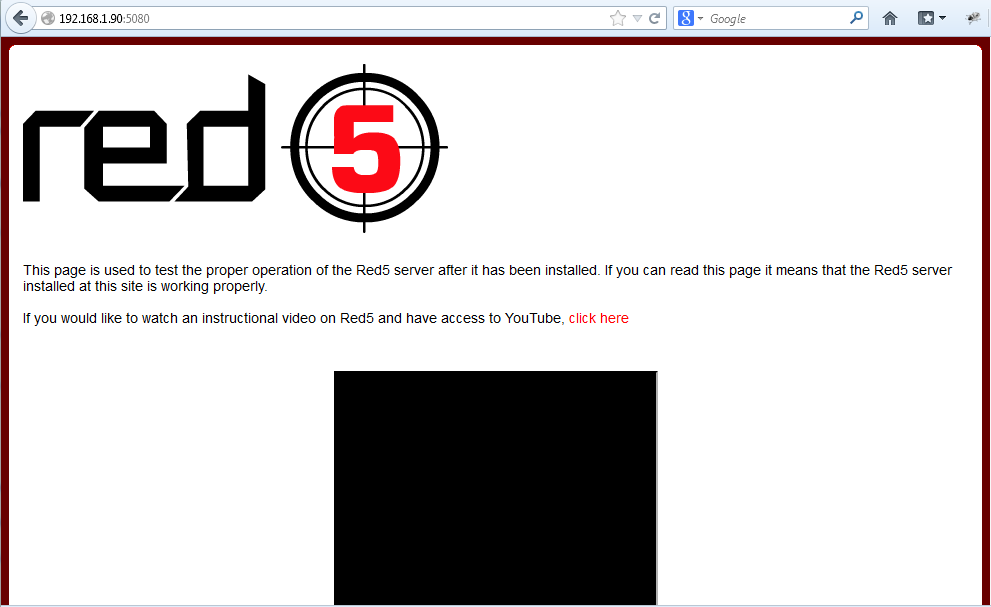
Step 7: Access Red5 Media Server
Red5 demo pages and application can be accessed at http://servername_or_IP:5080/
URL: http://192.168.x.y:5080

